How To Use A Miter Saw: Must-Know Tips for Perfect Cuts (2025)
Disclosure: This post may contain affiliate links from online retailers, including Amazon. If you click a link and buy tools or supplies, I may earn a small commission—at no extra cost to you. This allows me to provide you free helpful content, and I genuinely appreciate your support🤝 Learn more
Ever stared at a miter saw and wondered if you’re about to make the right cut? You’re not alone. When I was first learning how to use a miter saw, it wasn’t in a cozy garage shop, but out on actual job sites, where I learned the ropes the old-school way, hands-on, with a few seasoned builders showing me the basics (and yelling at me if I did something dumb or was too slow). I didn’t even own my own saw back then, but let me tell you, those early days taught me a lot, mostly by doing, sometimes by messing up.
Here’s the thing: making a basic cut with a miter saw isn’t hard. These tools are built for speed and accuracy. But using a miter saw properly and safely? That’s where most beginners trip up. I’ve seen guys slice through crown molding like it’s butter, then turn around and nearly lose a thumb because they weren’t paying attention. Trust me, you want to know what you’re doing before you hit that trigger.
Build Smarter – For FREE!
Join the Tekton Crew and grab 3 FREE Workbench Build Plans with 3D models—plus exclusive DIY tips, tool reviews, and more!
This guide is everything I wish someone had broken down for me in those early days. I’ll show you how to set up, how to make your first clean cut, dial in perfect angles, and, most importantly, stay safe. It’s not just about reading instructions; it’s about building confidence, avoiding rookie mistakes, and picking up tricks that make every project a little smoother.
So if you’re ready to finally use that new saw with confidence, let’s jump in. I’ll walk you through how to use a miter saw and help you cut like a pro in no time. And if you want to dive into other tools guides, visit my Tools and Gear Hub for tool reviews and head over to my Carpentry/Woodworking Hub for skill-building guides.
What Is a Miter Saw? The Basics for Beginners
If you’ve ever browsed the tool aisle or watched a YouTube build, you’ve probably seen a miter saw, sometimes also called a “chop saw” (though technically, that’s a bit different).
At its core, a miter saw is a benchtop power tool designed to make fast, precise cuts in wood, trim, and sometimes even metal or plastic. You pull a handle down, the spinning blade slices through the workpiece, and boom, clean, accurate cuts every time (well, once you get the hang of it).
There are a few main types you’ll run into:
- Standard miter saw: Only pivots for angled cuts (miters), usually up to 45° each way.
- Compound miter saw: Bevels (or tilts) as well as pivots, so you can make both angled (miter) and beveled cuts. Super useful for trim work and angle cuts.
- Sliding compound miter saw: Same as compound, but the blade slides forward and back, letting you cut wider boards.
- Dual-bevel miter saw: Tilts/Bevels both left and right, making it easy to cut complex angles without flipping your workpiece around.

What really sets a miter saw apart from something like a circular saw or a table saw is how quick and dead-on accurate it is. With a properly set up miter saw, you can crank out dozens of identical cuts, whether that’s for framing, building cabinets, or knocking out miles of baseboard. As a beginner, you’ll love how much confidence it gives you right out of the gate.
| Type | What It Does | Good For |
|---|---|---|
| Standard Miter Saw | Basic angled cuts | Simple framing, trim |
| Compound Miter Saw | Angled & beveled cuts | Crown molding, baseboards |
| Sliding Compound Miter Saw | Wider cuts, more versatility | Shelves, larger boards |
| Dual-Bevel Miter Saw | Bevels both directions | Complex crown, pros |
My advice? Start simple, don’t stress about buying the biggest, baddest saw on day one. Even an entry-level 10″ compound miter saw will take you a long way and teach you the fundamentals. But again, it’s all about what you need out of your tool, so go with what you benefit you most.
Next, I’ll walk you through the safety essentials every beginner needs to know before ever pulling that trigger. Trust me, this is the part you don’t want to skip.
Miter Saw Safety 101: Protecting Yourself & Your Project
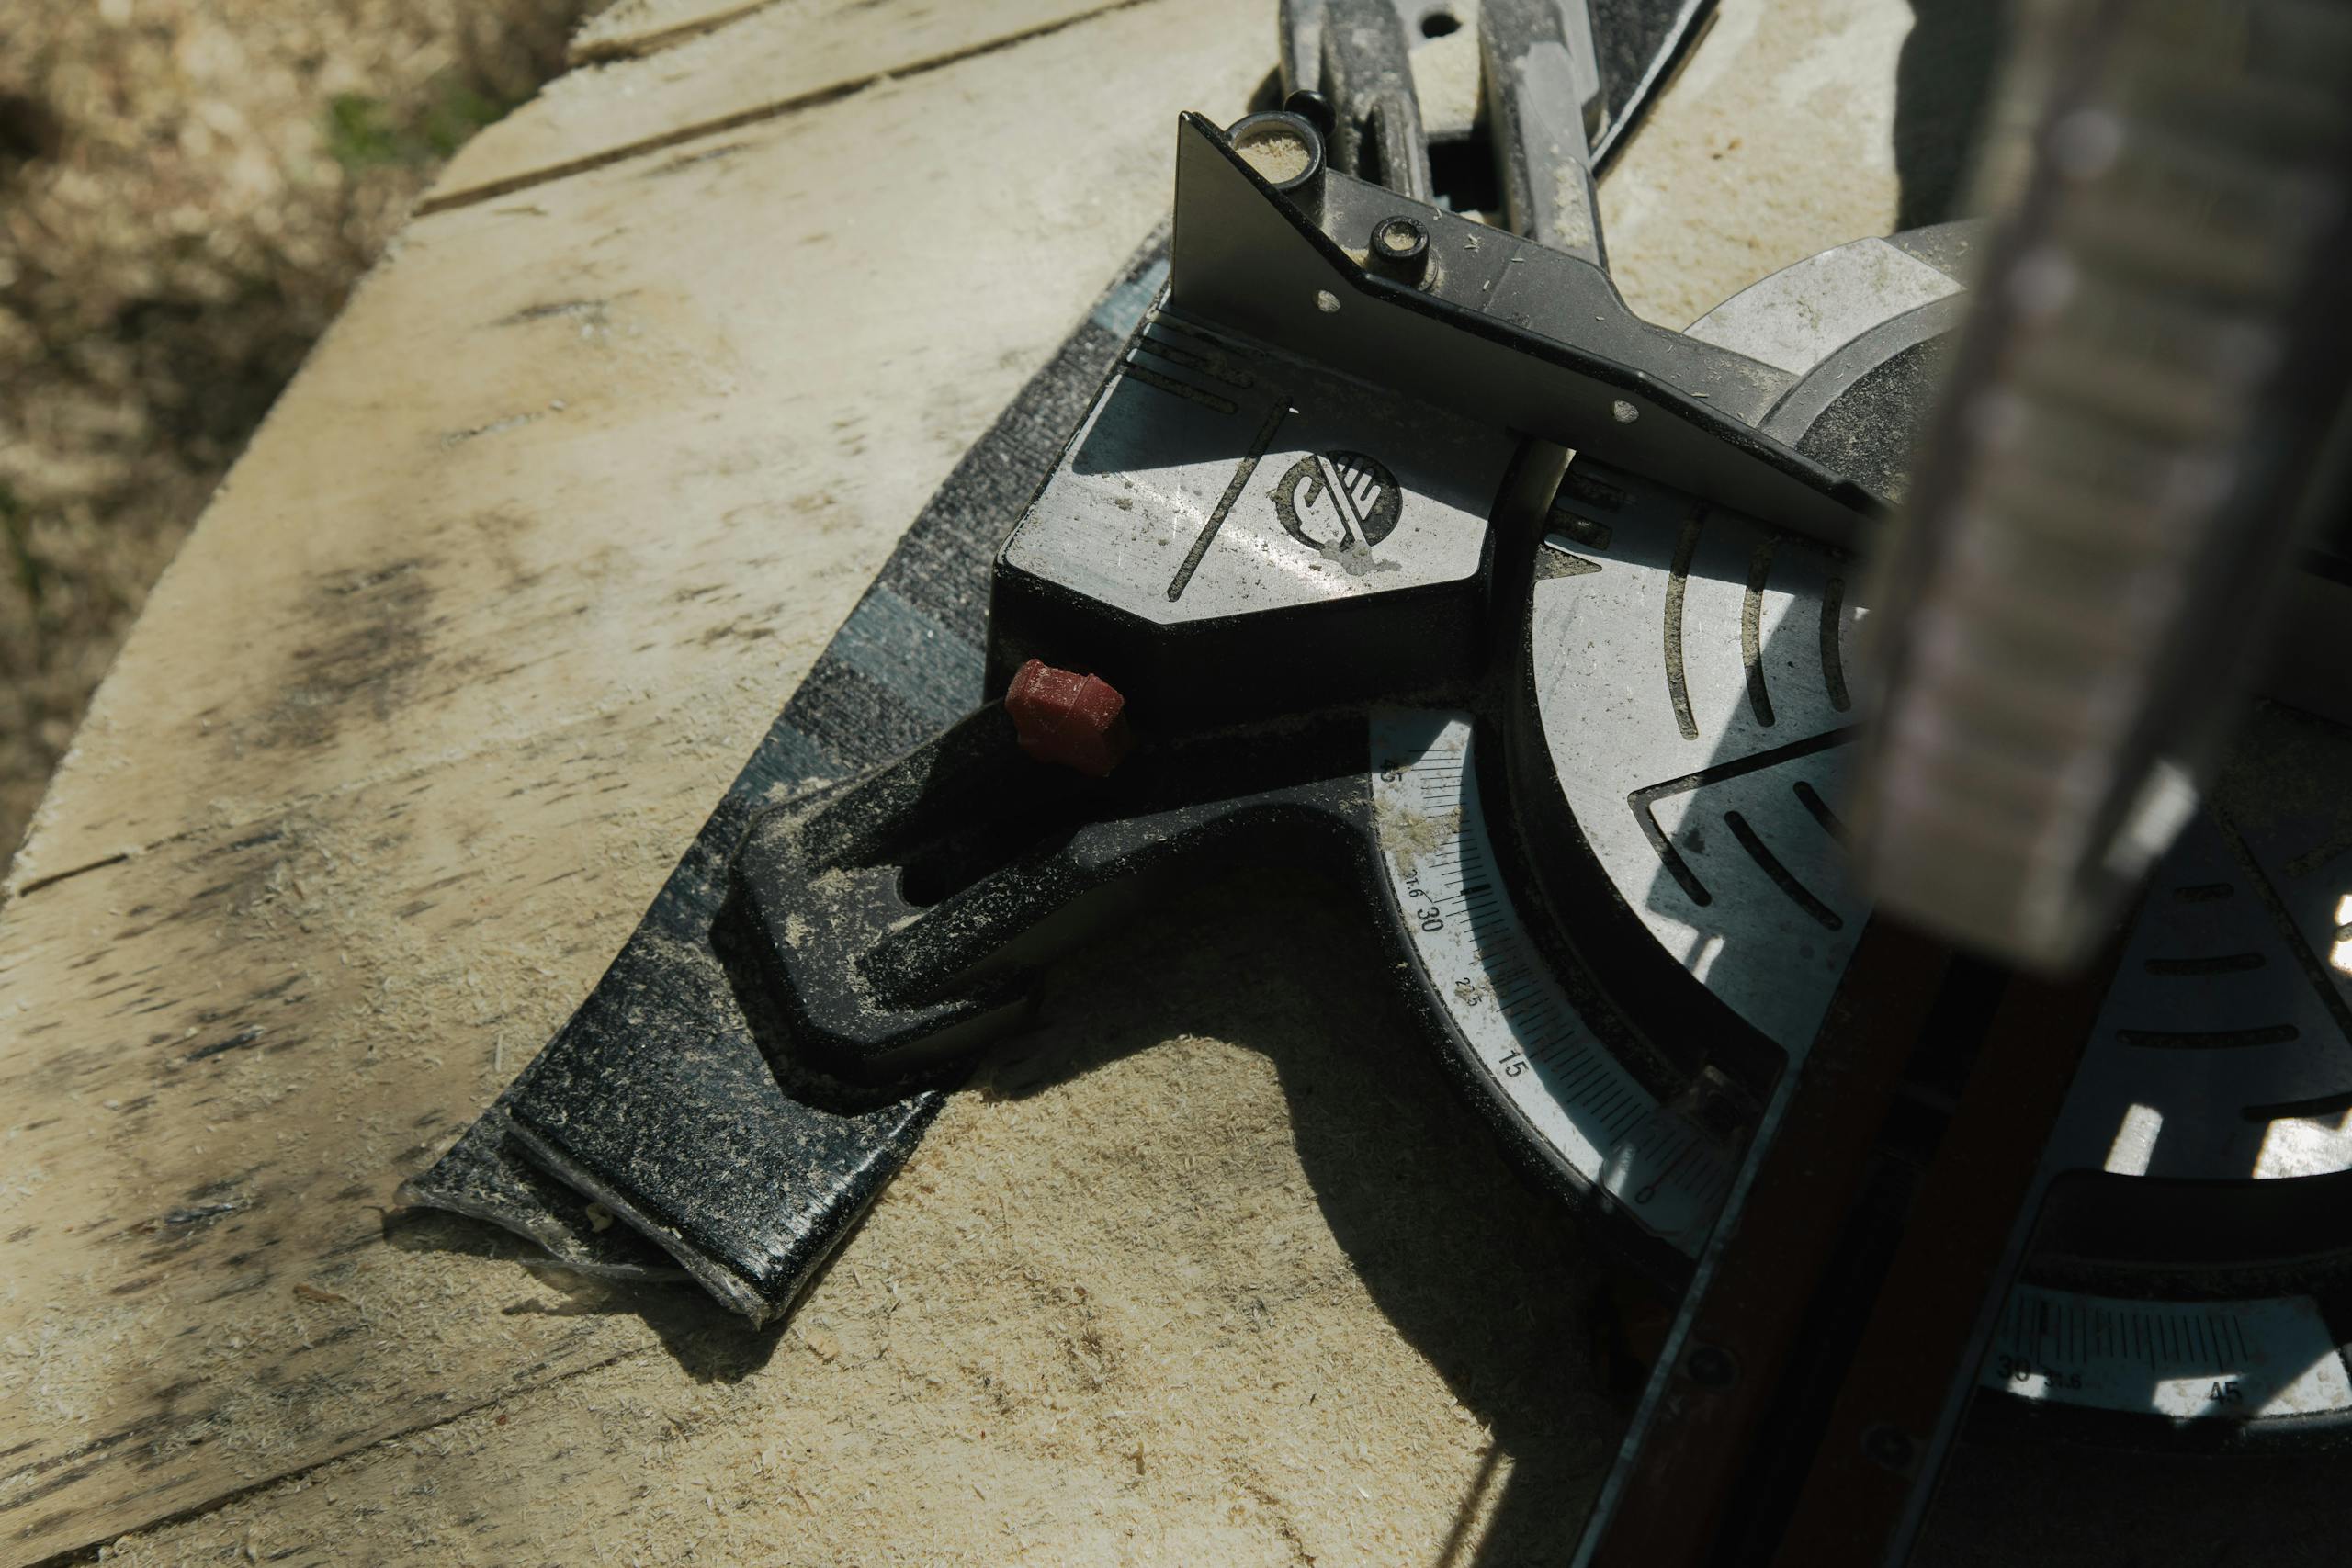
Before you even think about firing up that miter saw, let’s talk safety.
I know, I know… it’s not the most exciting part. But I’ve seen way too many close calls on job sites (and, okay, I’ve had a few myself) to let anyone skip over this. Using a miter saw properly is what keeps your fingers attached and your project on track.
First things first: personal safety gear.

- Always wear safety glasses. I’ve had wood chips bounce off my face shield more times than I can count.
- Hearing protection is smart, too.
- A dust mask is a good idea if you’re cutting a lot, especially indoors.
- Avoid baggy sleeves and jewelry. They have a knack for finding their way into spinning blades or getting caught on something.
Next up: safe workspace setup.
- Make sure your saw, or saw stand, is on a stable, flat surface, no wobbly tables or balancing acts.
- Keep the area clear. Trust me, tripping over an extension cord mid-cut isn’t fun.
- Make sure your workpiece is supported on both sides, especially for longer boards. That’s why I love miter saw stands.
Build Smarter – For FREE!
Join the Tekton Crew and grab 3 FREE Workbench Build Plans with 3D models—plus exclusive DIY tips, tool reviews, and more!
Some must-follow do’s and don’ts I learned the hard way:
- Always keep your hands at least 6 inches away from the blade—most saws have handy markings showing the “no-go” zone.
- Never remove or bypass the blade guard. This is super common for workers to do, but it’s there for a reason.
- Let the blade come to a full stop before lifting it back up after a cut. Sounds obvious, but it’s easy to forget when you’re in a hurry.
- Don’t force the blade, let it do the work. Forcing it will just burn your wood or, worse, cause it to kick back.
Biggest rookie mistake? Not double-checking your cut line before hitting the trigger. I’ve wasted plenty of boards by being in a rush.
A quick tip: Always unplug the saw (or remove the battery) when changing blades or doing any adjustments. Seems like overkill, but it takes two seconds and could save you from a serious accident.
Bottom line, getting comfortable with miter saw safety means you can focus on the fun part: building cool stuff without worrying about a trip to the ER.
Ready to set up your saw for the first time? Let’s keep going.
Setting Up Your New Miter Saw for the First Time
Alright, time to get hands-on. Unboxing and setting up a miter saw might sound intimidating, but honestly, it’s a breeze because most saws nowadays are nearly ready to go right out of the box.
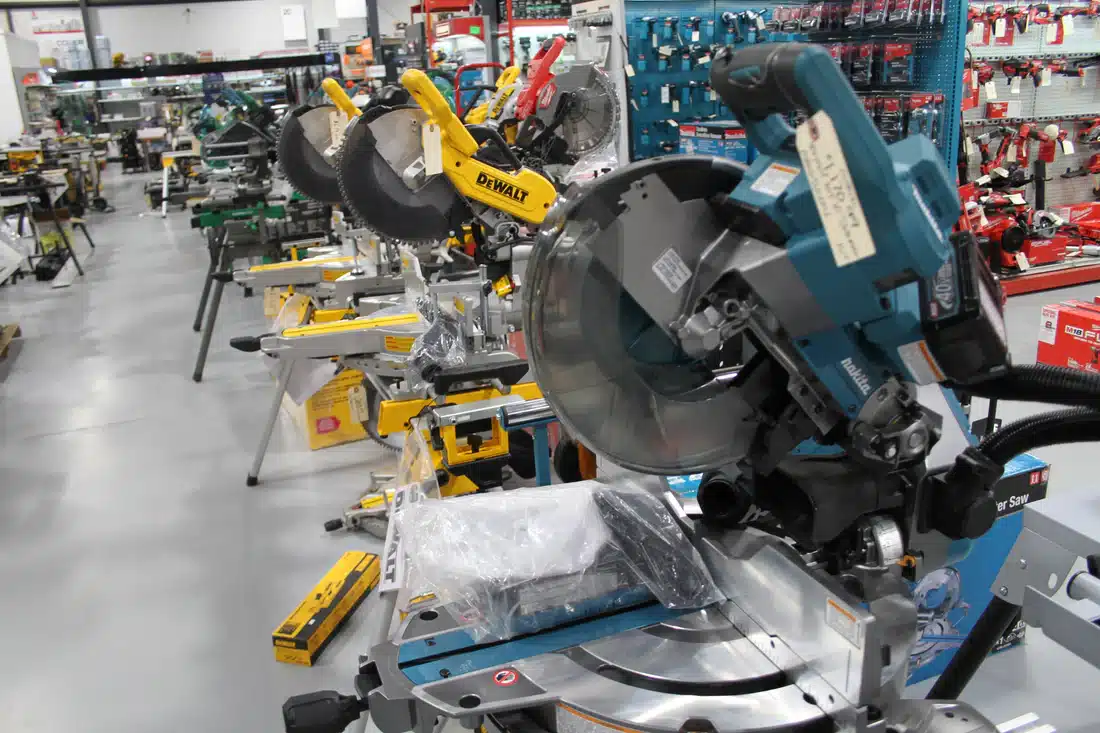
First, pull everything out of the box and make sure you’ve got all the parts.
Steps for a smoother setup:
- Mount/set the saw to a sturdy bench or a dedicated miter saw stand. Trust me, trying to use it on a wobbly table is a recipe for crooked cuts and frustration.
- Secure your saw with the provided bolts or heavy-duty screws. This keeps things from shifting mid-cut.
- Plug it in (or insert the battery for cordless models), but don’t hit the power just yet.
Now, check your blade alignment. Get good at this because you will be doing it often. Lower the blade to the table/fence and make sure it lines up perfectly with the base’s slot.
Grab a speed square and check to see that the angles line up properly for square and accurate cuts. If it’s a bit off, just adjust the saw as needed and lock it in. Additionally, most saws have an adjustment knob or set screw you can tweak to calibrate the gauges if needed.

Follow your particular saw’s user manual for exact instructions, and check out how to use a speed square to do this in more detail.
Couple of additional thoughts:
- Give the saw a dry run with the blade not touching any wood. Just fire it up and let it spin. Listen for any weird sounds or wobbling, those are red flags that something’s not seated right.
- Think about dust management. Most miter saws come with a tiny dust bag, but honestly, they usually aren’t the best. If you’re working indoors, hook up a shop vac or at least sweep up regularly. Sawdust builds up fast and can hide your cut marks, plus it’s a slip hazard.
- A quick word on extension cords: always use a heavy-duty, outdoor-rated one. I melted a cheap cord once (smelled terrible), and it’s just not worth the risk.
Once your saw is set up, locked down, and the blade’s ready, you’re good to go for your first real cut.
Mastering Your First Cut: Step-By-Step for Absolute Beginners
Alright, now comes the fun part: making your very first cut. This is where a lot of folks get a little nervous (hey, power tools are loud and spin fast, it’s normal), but if you take your time and follow these steps, you’ll nail it.

1. Measure and Mark Your Board
Grab your tape measure and mark the spot where you want to cut. Use a sharp pencil for accuracy. Learn how to measure and mark properly here.
2. Line Up the Blade
With the saw powered off, lower the blade down until it just touches your mark. This is your “dry fit.” Some saws have a laser, but I still like to visually check every time. Better safe than sorry!
3. Secure the Workpiece
Always hold your board firmly against the fence (that’s the metal backstop on the saw). If your board is long or heavy, use clamps or ask someone to help out, because boards can shift at the worst times, and that’s how bad cuts or accidents happen.
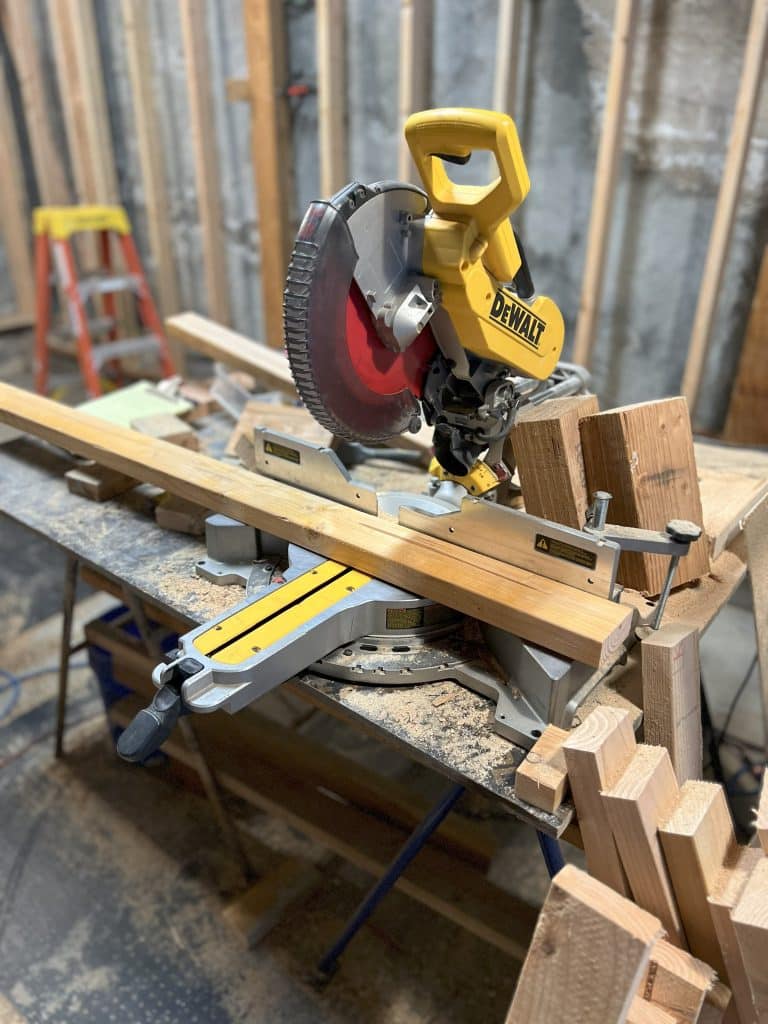
4. Check Your Hands and Stance
Keep your hands well away from the blade. Stand a bit to the side rather than directly in line with the blade. That way, if anything does go wrong, you’re not directly in harm’s way.
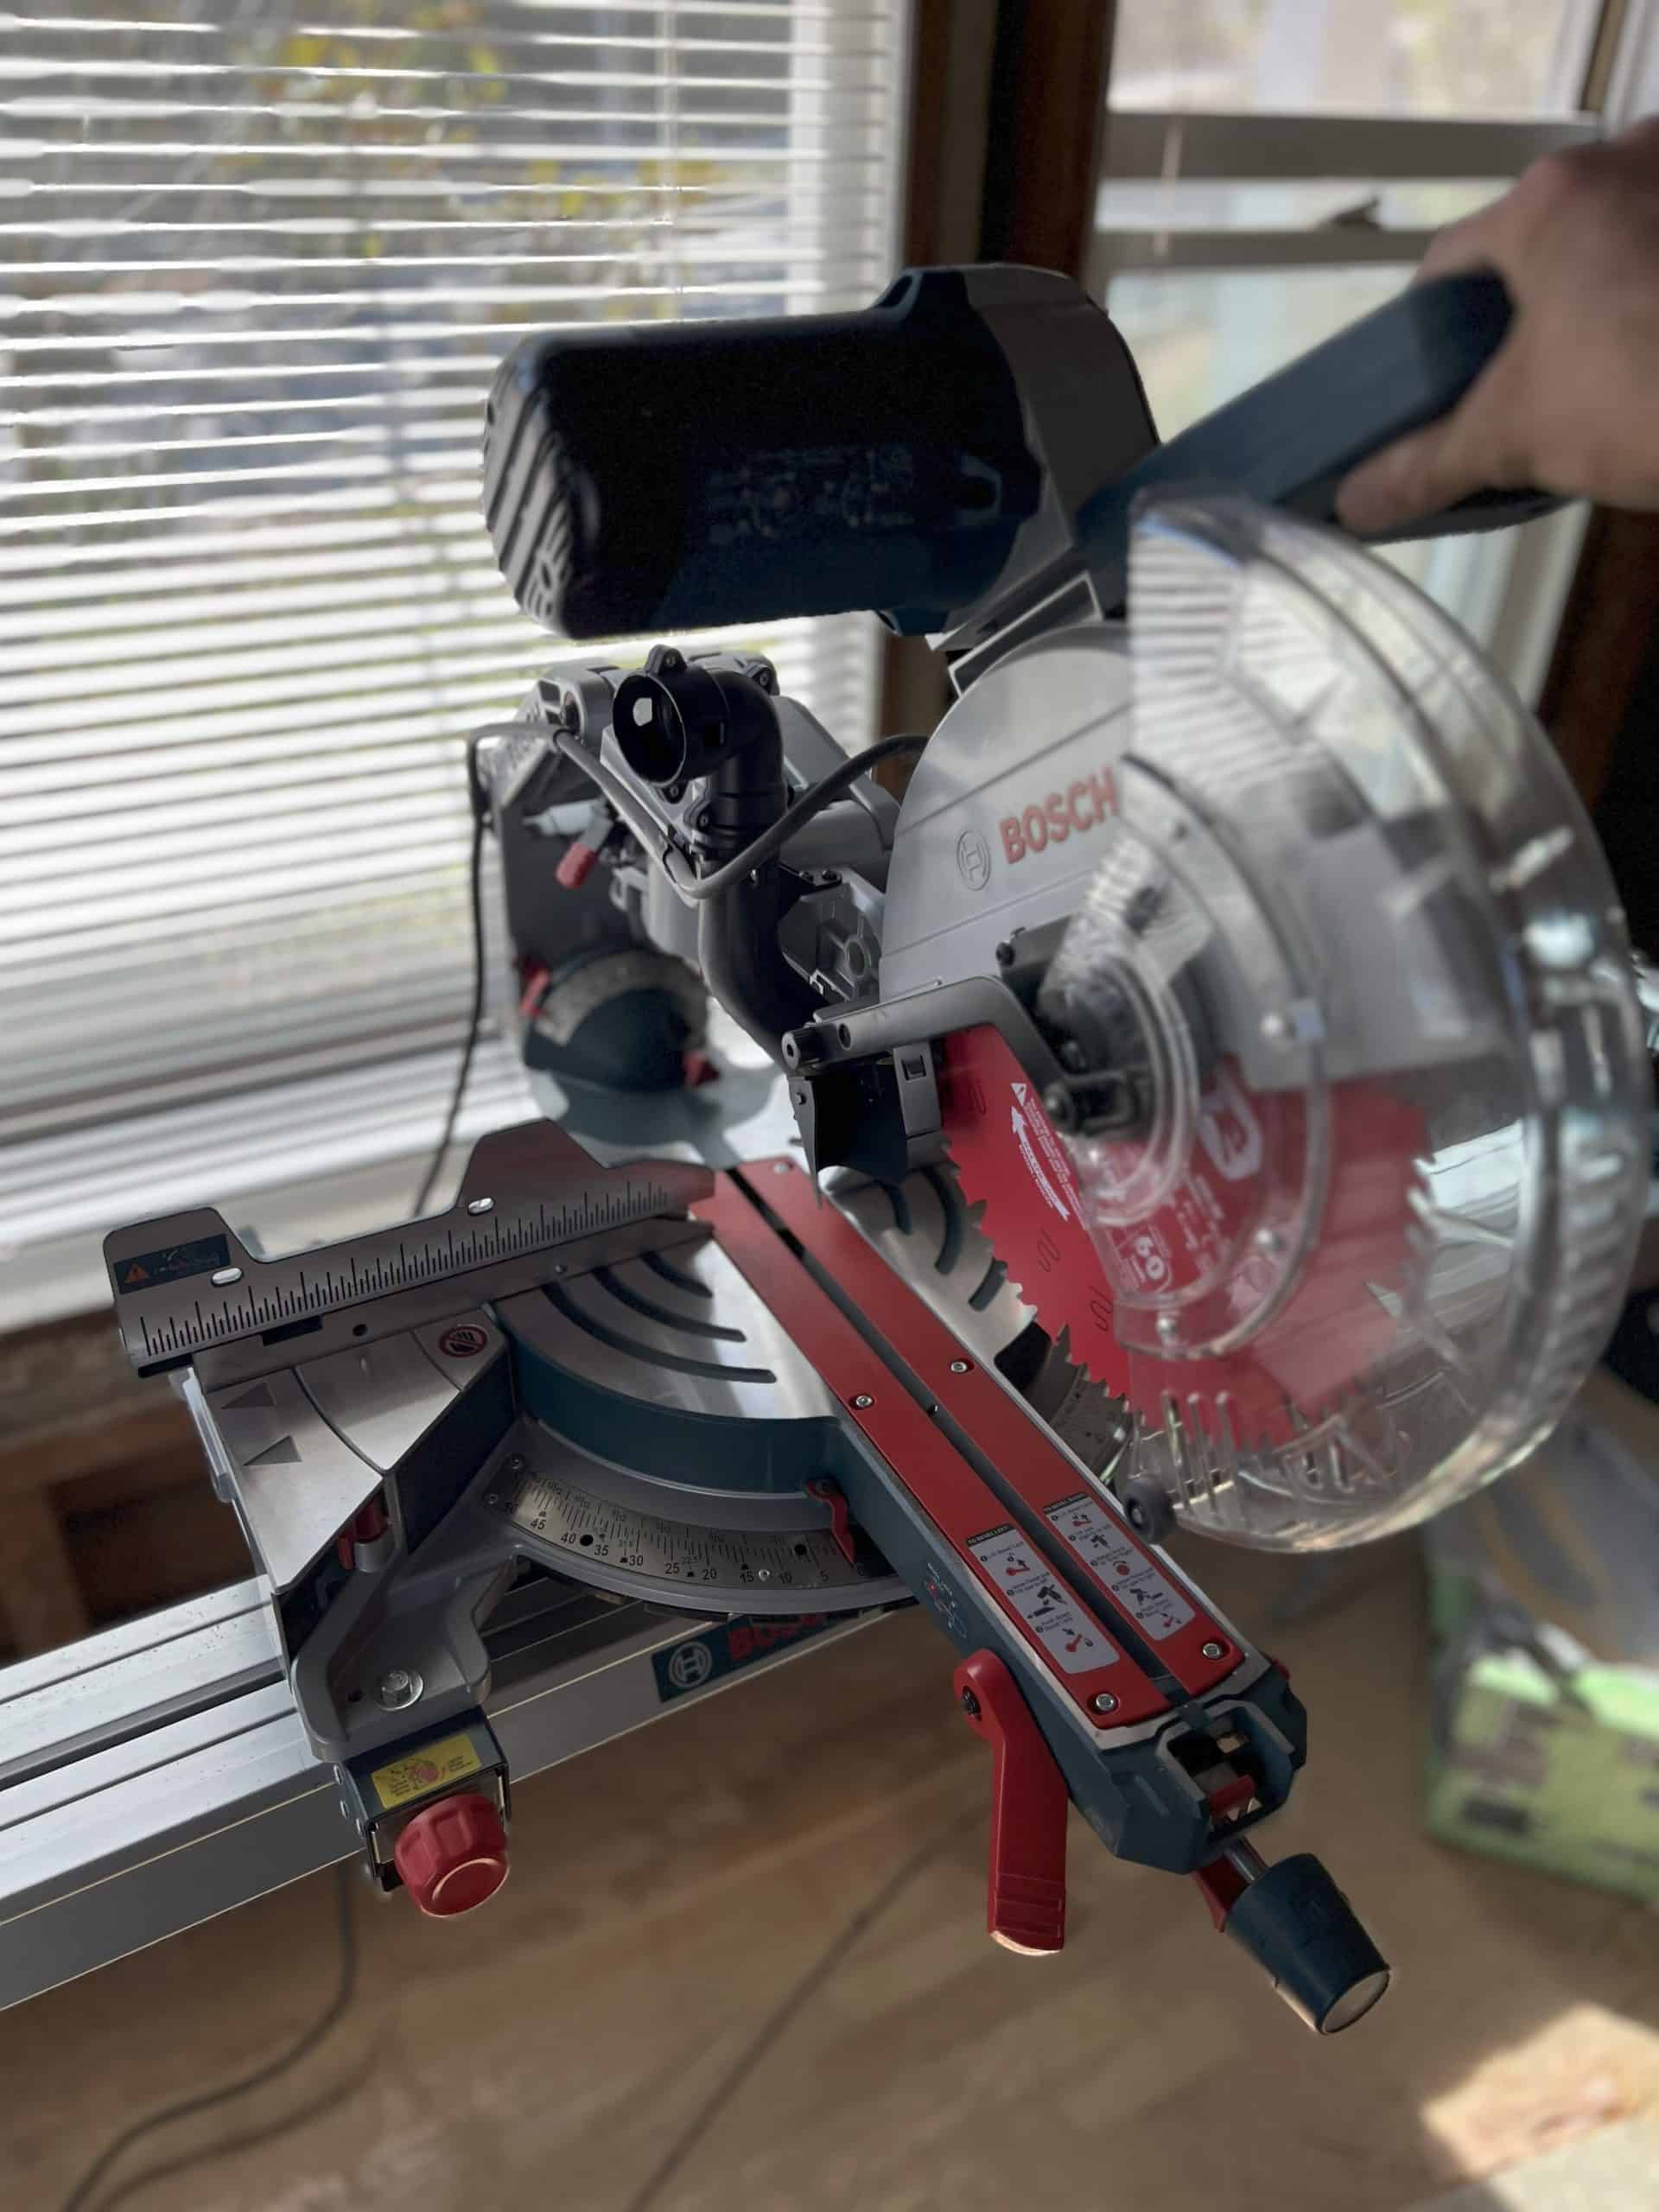
5. Power Up and Make the Cut
Now, squeeze the trigger and let the blade get up to full speed before lowering it. Nice and steady—don’t force it. You’ll hear the blade do all the work. Lower it through your board, then let it come to a complete stop before lifting the saw back up. That last bit is key; otherwise, you risk catching the wood and sending it flying or ruining your cut.
How does it feel? If yours isn’t perfect, don’t sweat it! Practice makes perfect.
A quick table for reference:
| Step | Why It Matters |
|---|---|
| Mark accurately | Prevents wasted material |
| Dry fit blade | Double-checks accuracy |
| Secure workpiece | Safety + straighter cuts |
| Safe hand position | Keeps fingers out of danger |
| Steady cut motion | Smoother, cleaner cut |
Take your time, breathe, and enjoy the process, seriously, getting that first crisp edge feels awesome. Ready to learn the different types of cuts you can make with your miter saw?
Common Types of Miter Saw Cuts (and When to Use Each)
When I first started, all the different carpentry terms for different cuts you could make with a miter saw felt a bit overwhelming. But once you get the basics down, it all starts to click. Each cut has its own use, and knowing which to choose is what makes your projects look pro, no matter how simple they are.
Here are the main types of cuts you’ll make as a beginner:
- Crosscut:
This is your bread-and-butter cut—straight across the width of the board, usually at 90 degrees. Great for cutting 2x4s to length, making shelves, or starting any project. If you only ever make crosscuts, you’ll still get a ton of use out of your saw. - Miter Cut:
A miter cut is any angled cut across the face of the board. You pivot the saw left or right (usually up to 45 degrees) to make things like picture frames, door trim, or anything that needs a nice corner joint. The first time I made a perfect 45° miter, I was ridiculously proud. - Bevel Cut:
For a bevel cut, you tilt the saw blade itself to cut at an angle through the thickness of the board. This comes in handy for things like installing baseboards or crown molding where you want the two pieces to join up tightly at an inside or outside corner. - Compound Cut:
This is where it gets a little fancier—a compound cut is both a miter and a bevel at the same time. Honestly, I avoided these at first because I thought I’d mess it up, but once you practice a couple times, it’s not so bad. This is essential for some trim and furniture projects.
Here’s a quick chart to keep it straight:
| Cut Type | What You Adjust | Good For | Beginner Tip |
|---|---|---|---|
| Crosscut | Board length | Framing, shelving, general cuts | Square up your board first |
| Miter Cut | Saw angle (pivot) | Frames, trim, angled joints | Use scrap to test your angle |
| Bevel Cut | Blade tilt | Baseboard, crown, tight corners | Double-check blade direction |
| Compound Cut | Angle + blade tilt | Fancy trim, furniture | Practice on scrap wood first |
Mistakes to avoid:
- Not locking down the saw angle or bevel—your settings can drift if you’re not careful.
- Forgetting which side of your mark the blade is cutting on (ask me how many times I ended up 1/8″ short).
- Switching between cuts without checking your settings. Always double-check before you start cutting again.
Once you know which cut you need, your projects will look way cleaner—and you’ll save a lot of frustration. Up next, I’ll show you how to get those cuts perfect every single time, even if you’re just starting out.
How To Get Perfect, Accurate Cuts Every Time
Let’s be real—nothing’s more frustrating than measuring twice, cutting once, and still ending up with a piece that doesn’t fit. Been there, done that, and wasted way too much good lumber. Getting accurate cuts with your miter saw isn’t rocket science, but there are a few simple habits and tricks that make all the difference.
Tricks for measuring and marking:
- Use a sharp pencil or, even better, a marking knife for crisp, thin lines.
- Hook your tape measure securely, don’t let it slip or sag.
- Double-check your measurement before every single cut. I’ve cut boards too short because I was in a hurry more times than I’d like to admit.
- Mark the waste side of the board so you always know which side of your line to cut on. That blade width (kerf) matters.
Using clamps, stop blocks, and fences:
- Always push your wood tight against the back fence.
- For repetitive cuts (like making a bunch of identical shelf pieces), set up a stop block. I just clamp a scrap piece to the fence at my length—it’s a game changer for speed and accuracy.
- For longer or heavier boards, use clamps or a helper to keep everything stable.
Simple maintenance tips for accuracy:
- Make sure your saw is bolted down tight and sitting flat—any wobble throws everything off.
- Keep your blade sharp! A dull blade will wander and leave you with rough, crooked cuts.
- Every now and then, check your saw’s alignment. Most have an adjustment screw for the fence and the bevel stop—if things start to feel “off,” check those first.
Here’s a quick checklist for perfect cuts:
| Accuracy Tip | Why It Matters |
|---|---|
| Sharp marking tool | Precise measurements |
| Secure tape measure | No sag, no guessing |
| Mark waste side | Avoids “too short” cuts |
| Use stop block for repeats | Saves time, ensures consistency |
| Sharp blade | Clean, straight cuts |
| Saw alignment | Prevents weird angles & frustration |
If you ever wonder why your boards don’t fit together right, 90% of the time it’s because of sloppy measuring, marking, or letting the board shift during the cut. Take your time here, accuracy up front saves a ton of headaches (and wasted boards) later.
Troubleshooting: What To Do When Things Go Wrong
Alright, even with the best prep, something will go sideways sooner or later. Trust me—I’ve had boards bind up, cuts come out crooked, and that dreaded “burn mark” more times than I’d like to admit. The good news? Most problems with a miter saw are easy to fix if you know what to look for.
Saw isn’t cutting straight?
- First thing I check is the fence—make sure it’s square to the blade. A little bump or bit of sawdust can throw things off.
- Next, look at your blade. If it’s dull, warped, or installed backwards (yep, I’ve done that), you’ll never get a clean cut.
- Double-check that the saw is clamped or bolted down tight. Even a tiny wobble can mess you up.
Burn marks or rough edges?
- That usually means the blade is dull, dirty, or you’re pushing the wood through too slow. Try speeding up your cut slightly, but don’t force it.
- Resin buildup on the blade can also cause burning—take it off and give it a quick clean.
Blade won’t move or saw won’t power on?
- Start simple: Is it plugged in? Is the outlet working? If you’re on a battery saw, is the battery fully charged?
- Some saws have a safety lock or trigger you need to press first. If it still won’t run, check for a blown fuse or tripped breaker.
Chip-out and splintering:
- This one’s a pain with plywood and trim. I like to put a strip of blue painter’s tape over my cut line or score it lightly with a utility knife before cutting—really helps minimize splinters.
- Cutting slowly and using a fine-tooth blade also makes a big difference.
General tips when something feels off:
- Stop, unplug, and check everything—alignment, blade, workpiece position.
- Don’t keep cutting if something looks or sounds weird; you’ll just make it worse.
Here’s a quick “what went wrong” table:
| Problem | Likely Cause | Quick Fix |
|---|---|---|
| Crooked cuts | Fence/blade misaligned | Re-square fence, check blade |
| Burn marks | Dull/dirty blade | Clean or replace blade, faster cut |
| Saw won’t start | Power/battery issue. | Check plug/battery/breaker at panel |
| Chip-out/splintering | Wrong blade/technique | Painter’s tape, slow/fine blade |
Don’t stress—everyone hits a snag once in a while. Just pause, figure out the root cause, and get back at it. Pretty soon you’ll be troubleshooting like a pro.
Essential Accessories and Upgrades for Beginner Miter Saw Users
If you’re like me, you can’t help but look at all the extra gadgets at the hardware store and wonder, “Do I really need all this stuff?” Truth is, you don’t need everything right out of the gate, but a few smart upgrades can make your life way easier and your cuts a whole lot cleaner.
Blades:
Most saws come with a basic blade that’s fine for rough cuts, but if you’re doing trim or finish work, upgrade to a fine-tooth or “finish” blade. The difference is night and day with less tear-out, smoother edges, and less sanding later on. I keep a couple blades handy and swap them out depending on the project.
Must-have accessories:
- Clamps: Absolute lifesaver for keeping boards in place, especially longer pieces or awkward angles. Most saws come with one attached.
- Miter saw stand: It’s not strictly required, but working at the right height with support arms is a game changer for accuracy (and your back). I highly recommend.
- Shop vac or dust collection: Even a basic shop vac hooked up to the dust port will save you a mountain of sweeping and keep your lungs happier.
Wish list for down the road:
If you get bit by the DIY bug (it happens!), consider grabbing:
- Extension wings or support rollers: Great for cutting long boards by yourself.
- Portable work light: For those late-night or low-light projects—been there a few times.
- Laser guide: Some saws have this built-in, but you can add one aftermarket. Handy for double-checking where the blade will hit before you cut.
- Specialty blades: Like a non-ferrous blade for cutting aluminum trim or plastics.
| Accessory | Why You’ll Want It | Beginner Tip |
|---|---|---|
| Fine-tooth blade | Cleaner, smoother cuts | Buy one after your first project |
| Miter saw stand | Safer, more accurate cuts | Upgrade when your budget allows |
| Clamps | Keeps boards steady | Get a few right away |
| Shop vac/dust port | Less cleanup, safer workspace | Any vac is better than none |
| Stop blocks | Perfect for repetitive cuts | Simple scrap wood works too |
| Laser guide | Quick blade alignment | Not essential, but handy |
Honestly, I started with just the saw and a clamp. But every time I added one of these upgrades, I wondered how I ever got by without it.
Want to see some project ideas you can tackle to put your new skills and gear to use? Let’s do it!
Build Smarter – For FREE!
Join the Tekton Crew and grab 3 FREE Workbench Build Plans with 3D models—plus exclusive DIY tips, tool reviews, and more!
Real Project Ideas to Practice Your New Miter Saw Skills
So you’ve set up your miter saw, figured out the basics, and you’re itching to actually build something. Good! The fastest way to get comfortable is to dive in and start making real cuts on real projects. You don’t need to tackle a massive bookshelf or fancy cabinet on your first go—start simple and build up your skills with every project.
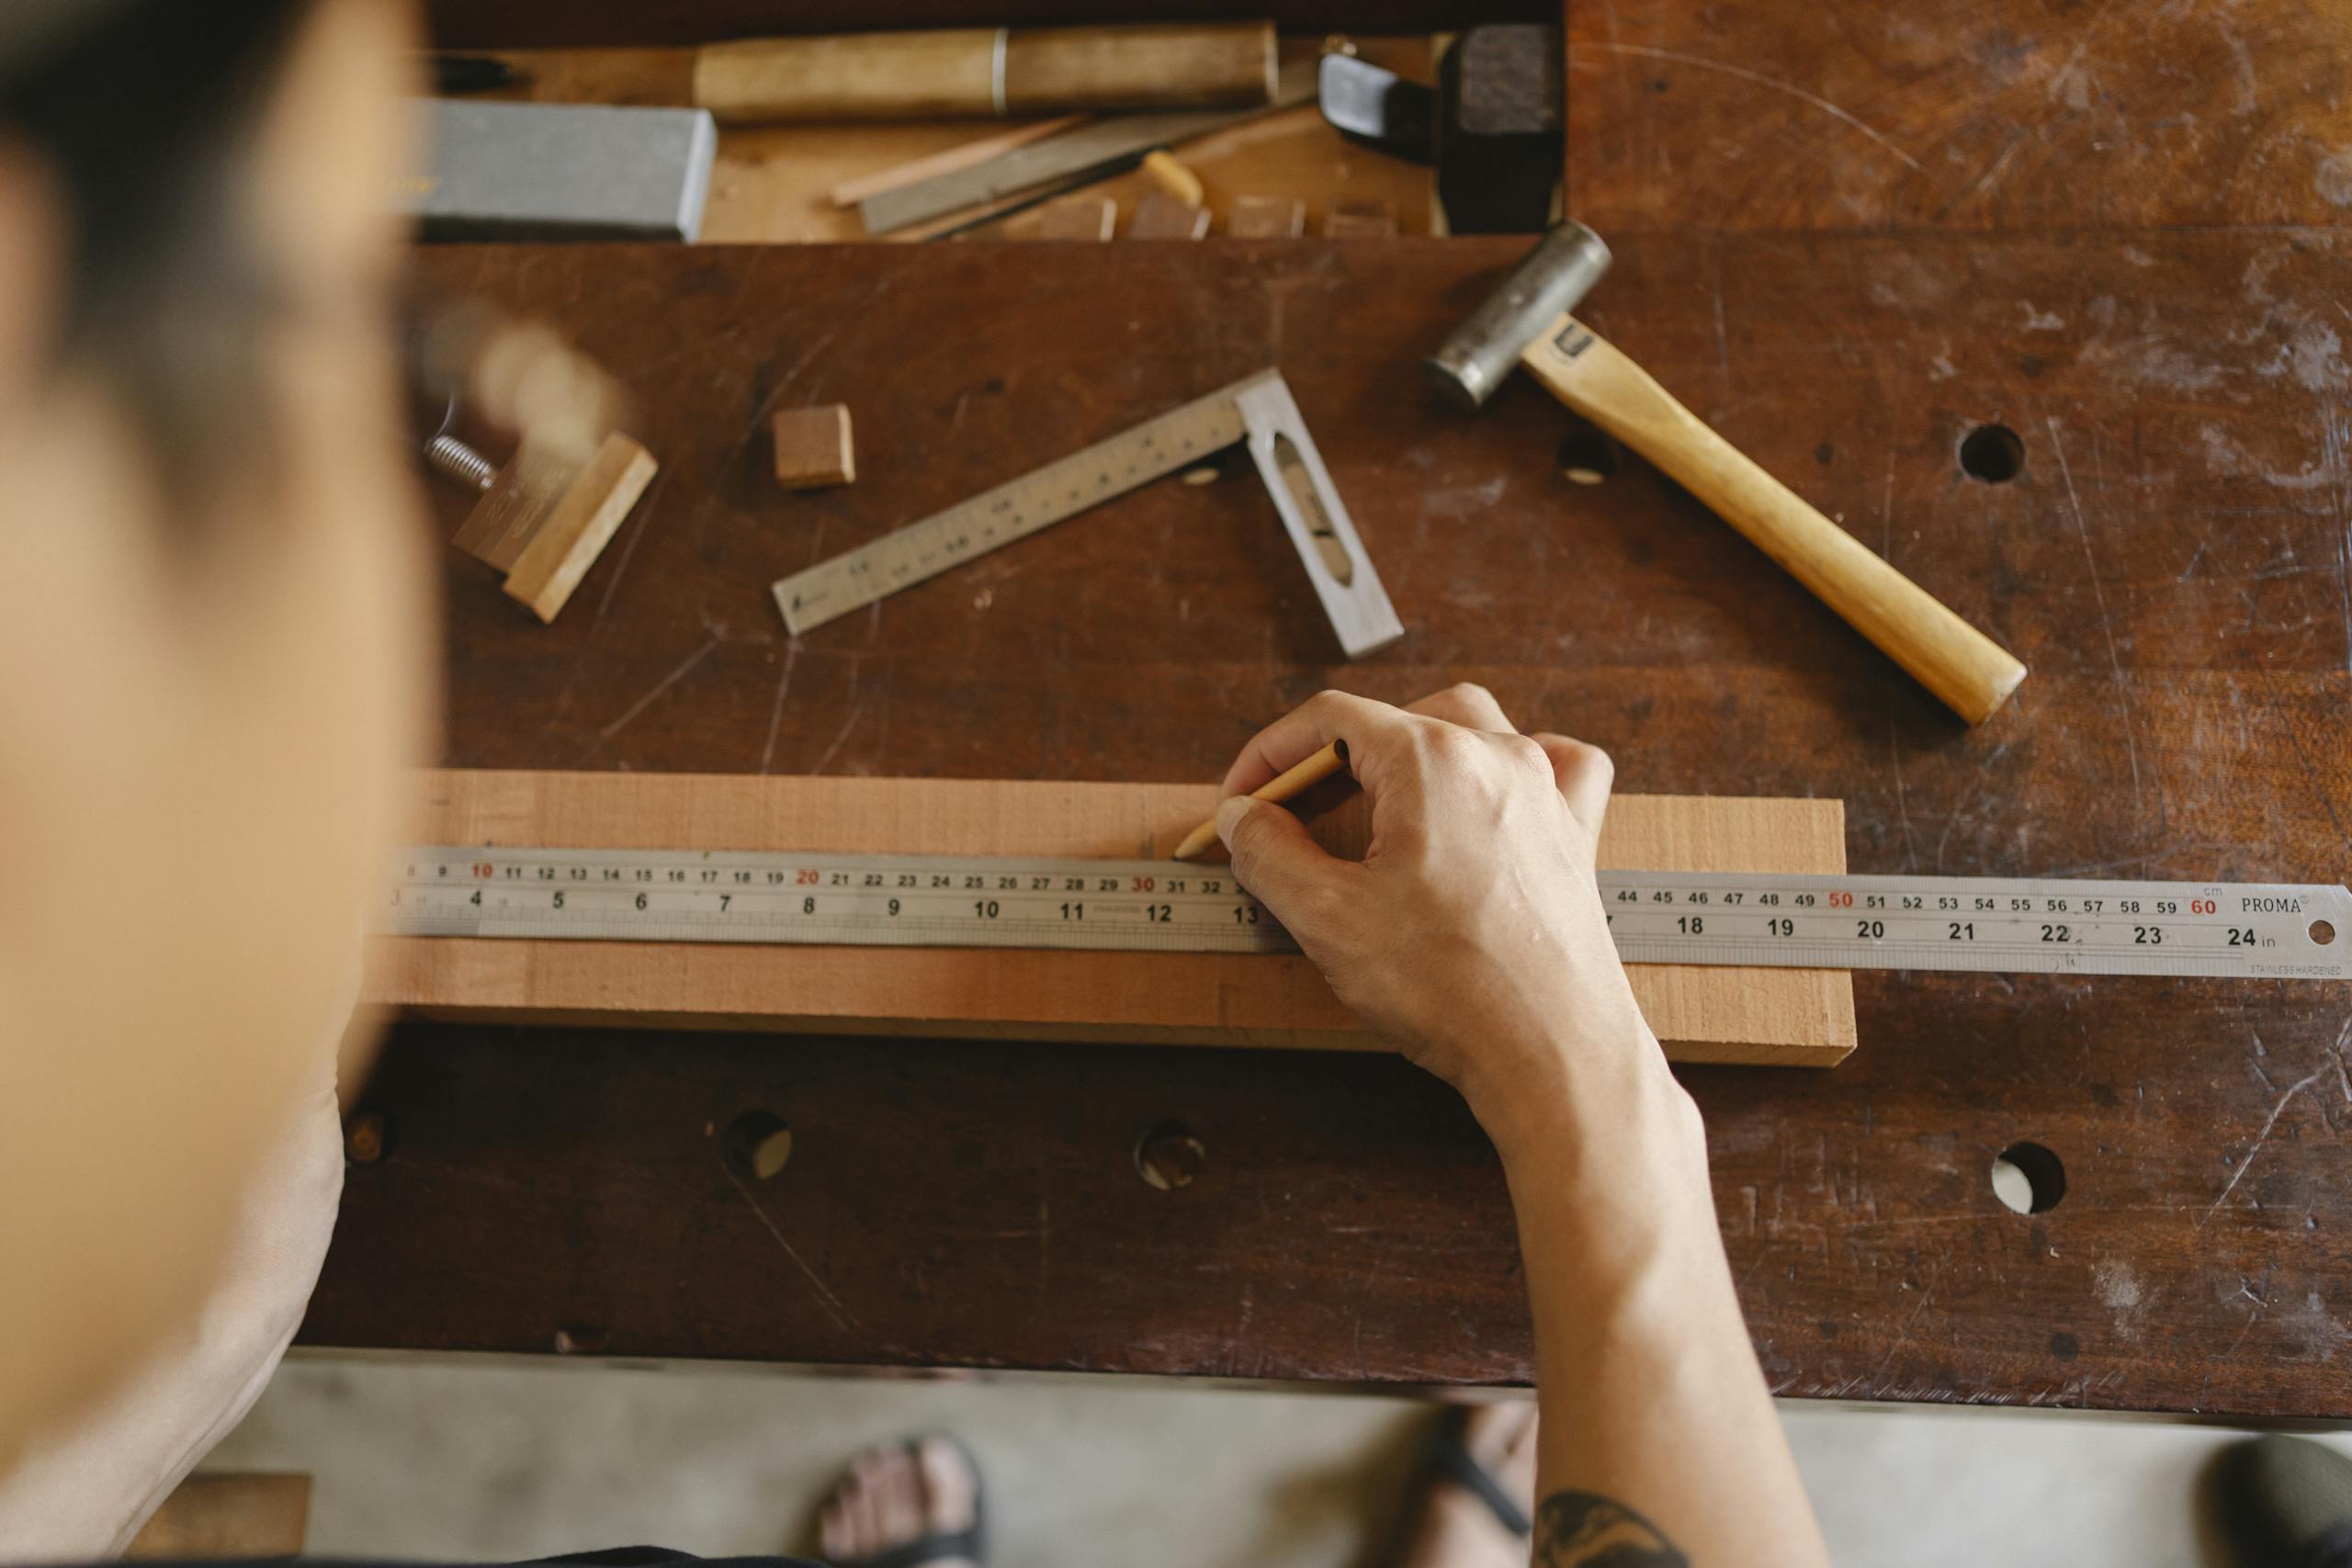
Here are three beginner-friendly projects that are fun, useful, and will help you master different types of cuts:
1. Simple Picture Frame
- Practice both crosscuts and 45-degree miter cuts
- Teaches you how important precise measuring is (and how small errors show up fast in corners)
- Pro tip: Use scrap wood for your first frame—you’ll thank me later
2. DIY Workbench or Sawhorse

- Great for getting the feel of repeatable cuts
- Lets you try out stop blocks and supports longer boards
- Bonus: you’ll end up with something super useful for your future projects. Check out how to get your hands on my FREE workbench plans below!
3. Basic Trim or Baseboard Mockup
- Lets you practice cutting miters and bevels for corners
- Helps you see how trim fits together and which angles matter
- Pro tip: Don’t be afraid to “dry fit” pieces before nailing them up
Build Smarter – For FREE!
Join the Tekton Crew and grab 3 FREE Workbench Build Plans with 3D models—plus exclusive DIY tips, tool reviews, and more!
If you tackle even just one of these, you’ll be way ahead of most folks with a new miter saw. The more you build, the better you’ll get—and the more fun you’ll have with each project.
Final Thoughts on How to Use A Miter Saw
If you made it this far, you’re officially ahead of the curve—and way less likely to make the same bonehead mistakes I did starting out! Learning how to use a miter saw for beginners isn’t just about following a set of steps; it’s about building up the confidence to tackle projects you actually want to see finished. Yeah, you’ll have a crooked cut here or there, maybe even mess up a board or two (we’ve all done it!), but that’s all part of the learning curve.
Remember: every smooth corner and crisp cut you see on someone else’s project started with those same shaky first cuts. Stick with it, keep your safety gear on, and don’t be afraid to slow down and double-check before you slice. You’ll be amazed how quickly “beginner” starts to feel like “seasoned pro.”
If you found these tips helpful, don’t forget to join my email list for more hands-on DIY guides, exclusive tool tips, and fresh project ideas delivered right to your inbox. And make sure to check out my other blog posts for even more ways to level up your skills and turn those Pinterest dreams into reality.
Alright, enough reading—go make some sawdust. You’ve got this!
Build Smarter – For FREE!
Join the Tekton Crew and grab 3 FREE Workbench Build Plans with 3D models—plus exclusive DIY tips, tool reviews, and more!
FAQ: How To Use A Miter Saw for Beginners
How do you use a miter saw for the first time?
Set up your saw on a stable surface, plug it in or insert the battery, and check the blade and fence alignment. Mark your cut on the wood, place the wood firmly against the fence, keep your hands clear of the blade, and slowly lower the blade through the mark. Always wear safety glasses and take your time on those first few cuts.
What is the easiest miter saw to use for beginners?
A 10-inch single-bevel compound miter saw is the most user-friendly for most beginners. It’s straightforward, not overly bulky, and can handle most common DIY cuts with ease.
How do you get perfect 45-degree cuts on a miter saw?
Set the miter angle to 45 degrees, use a stop block or clamp for repeatable accuracy, and line up your cut mark with the blade. Make a test cut on scrap first to dial it in, then go for it.
What safety tips should beginners know about miter saws?
Always wear eye and ear protection, never bypass the blade guard, and keep your hands at least six inches from the blade. Let the saw come to a complete stop before raising it, and unplug it before changing blades or making adjustments.
Do I need a miter saw stand as a beginner?
You can start with a sturdy workbench or table, but a dedicated miter saw stand makes longer cuts easier and safer. It’s a good upgrade if you plan to use the saw often.
How often should you change the miter saw blade?
Change your blade if you notice burning, chipping, or slower and louder cuts. For beginners, this usually means after several projects or whenever you feel the blade is getting dull.
What should I do if my cuts aren’t straight?
Check the alignment of your blade and fence. Make sure your saw is firmly mounted and your wood is tight against the fence. If it’s still off, your blade may need to be replaced or adjusted.


